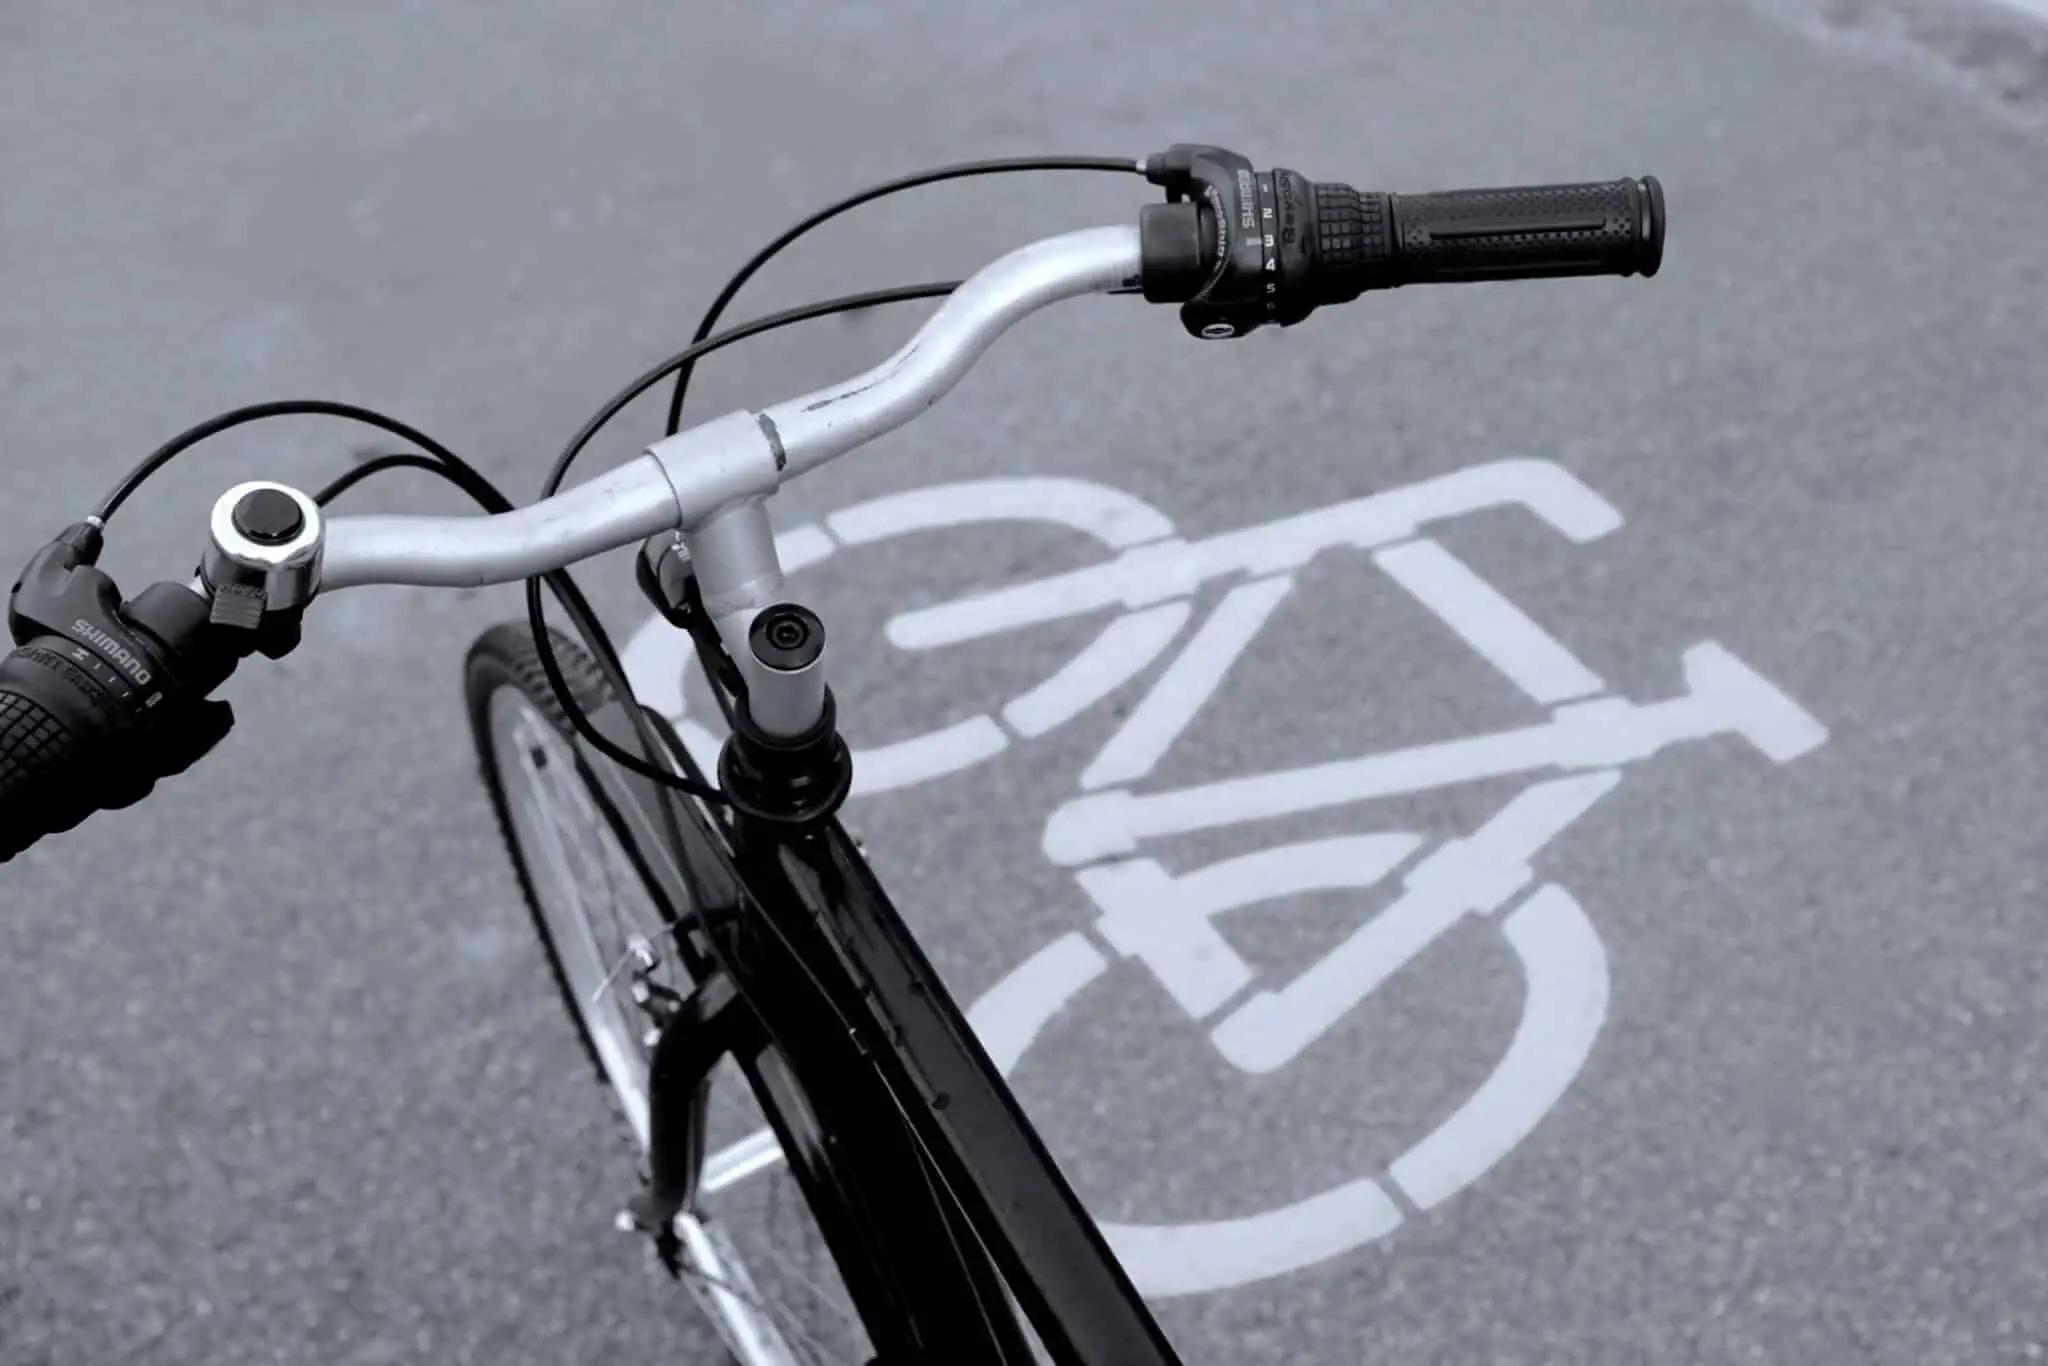
Whether you’re customizing your handlebars or simply need to make some adjustments, you need some clear instructions on properly installing a bike stem.
We’re here to walk you through the process of how to install a bike stem from start to finish. It doesn’t matter if you’re replacing a stem on an old bike or just upgrading a bike to your personalized fit and comfort, these steps will help you know just how to install a bike stem.
Let’s take a look!
What You Will Need
Let’s make sure that you have all of the appropriate and required tools for the job to get started. Check out this list of things you need to install a bike stem and gather all of the tools and equipment to make your process as smooth as possible.
- Stem of choice
- Bolts
- Faceplate attachments
- Appropriate wrench for the bolts (hex wrench typically)
- Bike to attach to
- Space to work
We want to point out the wrench. Not all handlebars use the same type of wrench but typically, the bolts that go with handlebars require a hex wrench. The size may vary, so be sure you have the right size on hand, or maybe even a multi-option tool could help.
Some of the items like the faceplate and bolts could come with the stem, but most of the time, these are coordinated with the handlebars.
Step by Step Instructions
There are two primary parts of this process. First, you will need to detach and remove the stem that is already in place. Then, we will proceed to placing the new stem. Don’t worry, you’re not doing this on your own! We’re going to guide you all of the way.
More: Our Top 8 Best Mountain Bike Stems [Review And Buying Guide]
Stem Removal
If you’re replacing a stem or changing the handlebars or stem out or even just adjusting the stem, you have to start by removing the already in place.
You can check out this instructional video from eHow Sports as well to help you with the process if you need a visual aid.
Here is the process in details for removing the stem.
Loosen and Remove the Faceplate
In order to remove the stem, you will first have to loosen up the faceplate. The faceplate is held in with bolts that typically require a hex wrench in order to loosen or tighten. Find the appropriate wrench, if you haven’t already, and loosen up those bolts. You just need to loosen them at this point
Follow this order for loosening purposes.
- Choose a top bolt
- Loosen the bolt diagonal from the first
- Loosen the top bolt directly above
- Diagonal to the remaining bold
While this pattern is not necessarily required, it is recommended to ensure that there isn’t an inordinate amount of pressure on any specific part of the handlebars at any given time in the process.
Now, you can finish loosening each of the bolts and remove them. Be sure you place the bolts in a safe place as you will need them when it’s time to reattach unless you are planning to also replace these. When you remove the bolts and the faceplate, keep a firm hold on the handlebars. You don’t want the handlebars to rub or knock against the other parts.
The handlebars will come apart from the stem at this point so set them aside for now.
More: How To Measure Stem Length [Complete Guide to Bike Stem]
Remove Bolt, Cap, & Stem
Now that you have removed the handlebars, faceplate, and bolts, you can remove the stem. First, there is a top cap and a bolt that you will need to remove. This should take an allen wrench or a hex wrench.
Loosen and remove this bolt and then remove the top cap as well as any stem spaces that might be in place there. Now, you are ready to remove the stem.
There are stem bolts that will be holding the stem in place. These bolts are on the steering tube of the bike. You will loosen the stem bolts each evenly until the stem is loose and then you can remove the bolts from the stem.
Keep ahold of the stem as you remove the bolts. Now, you should be able to remove the stem from the bike.
That’s it for removing the stem! Now, you’re ready to move on with how to install a bike stem in the next section of our tutorial.
More: Find the Best Indoor Bike Trainer Stand [Review and Buying Guide]
Stem Installation
Installing a bike stem is almost like removing the bike stem but in reverse. Some things should know about the process as you work through it. In this section, we will walk you through the entire process of installing a stem with each step as well as any tips that might help you with the process.
Check out this instructional video from Park Tool for installing a bike stem if you need a visual aid for your process.
Now, here are your steps.
Prepare the New Stem
Before you can install the stem, you’ve got to get it ready. If your new stem has a faceplate with it, go ahead and loosen and remove the bolts from the new faceplate. You will need to set this aside in a safe place where you will not lose the bolts or the faceplate.
Don’t wait until you’re placing the stem to do this step. If you wait, you might have trouble adjusting your handlebars when installing the stem to the bike. It’s much easier if you don’t skip this particular part of the process!
More: Maxxis Ardent Review: Is It Worth It?
Fit the Stem to Bike
Ok, now you’re ready to get your stem fitted and set it up to your liking. We recommend that you loosen the stem bolts for this process. This way you will be able to fit the stem easily and move it around comfortably without trying to force it.
The stem bolts don’t need to be removed, they just need to be loosened to make room.
Once you have loosened the stem bolts, slide them stem onto the steering tube. Place it as needed and move on to the next step!
Spacers and Top Cap
Once you’ve fitted the stem in the above step, you’re ready to replace your spacers. You may not have had any spacers but if you did remove spacers during the stem removal process, you can replace those spacers or even add new ones if you prefer. Spacers are not necessarily required.
Spacers are typically used for pre-loading the bearings during an adjustment. These spaces are traditionally 20 to 30 mm, if there are spacers. They can be moved around and adjusted at will and there is no particular standard other than what is works best for you.
Ultimately, the spacers allow you to adjust the height of your handlebars and are most commonly used for BMX and MTB bikes as well as road riders so that the bar height can be set to prepare for an optimal performance.
After the spacers, you can replace the top cap that you removed earlier. You can replace these or just use the ones that you took off in the process. They should still be just fine.
To put the top cap back into place, simply set it on top of the stem or the spacer and screw the bolt back in using the same tool that you removed it with. You don’t need to make this bolt super tight. Just tighten it up with your fingers. It’s not designed to hold the parts together overall.
Expert Tip: As you tighten the top cap, be sure to leave about 2-4 mm of space between the steering tube and the stem’s top. The top cap is designed to pad the stem, bearings, and forks together. If you don’t get this right, your assembly may not be tight and safe as it should be!
More: Specialized Power Saddle Review: Is This Product Right for You or Not?
Fit & Place Handlebars
Now, you can fit your handlebars to your new stem and place them so you can get back to riding.
Start by placing your handlebars into the stem. Then grab the faceplate that you are attaching (new or old) and hold it on the handlebars. Start by screwing the bolts into the faceplate using your hands to get the handlebars initially secured.
Use the markers on the handlebars to ensure that your handlebars are centered on the stem as they should be. There is nothing worse than crooked handlebars. This is the perfect time to line up properly and get your angles exactly as you prefer them.
When the handlebars are lined up as you like, hold the faceplate firmly and tighten it completely. Follow the same tightening pattern as you did the loosening pattern that we shared in the removal process above.
Secure the Stem
Finally, move to the front of the bike with the wheel between your legs. Hold the wheel tightly so it doesn’t move and adjust the handlebars but turning them until the stem is at center with the front wheel.
Tighten the stem bolts individually and evenly. Once they are tightened, twist the handlebars to ensure they are secure and tight.
More: How to Change Bike Pedals: Here’s Everything You Need to Know
Conclusion
We hope this process was helpful to you for learning how to install a bike stem. There are some minor things to keep in mind but the process is rather straightforward.
Let us know what you think in the comments and share our article if you found it useful!